One Room Challenge – Week 6: The Reveal
Hey friends! Last week I was a bit quiet. If you saw my newsletter, you’ll know that I was feeling a bit mentally overwhelmed and needed a bit of a tech break. Plus, my computer got ‘sick’. Thank you Apple Care for your awesome and quick assistance. Man, I do love me some Apple. This little computer is several years old, it’s had one overhaul and a few glitches but the customer service I’ve had with Apple has been awesome!! The customer service rep laughed when I said, “Once you go Mac, you never go back”. Ha!
So here we are at the end of this One Room Challenge. It’s been a whole lotta stuff packed into 6 weeks. This last week was actually a bit quiet as the tile was installed, grouted and then – crickets. My hubby had to fly to LA for a work conference and the room just basically sat from Wednesday – Saturday. Now the washer and dryer are back and working overtime to catch up on the laundry that’s been piling up since last Sunday. I did get into the room and touch up paint and also get the trim painted while he was gone. Wow, after 14 years that sure was a change. White really starts to look yellow after awhile. Which of course means that I now need to paint all of the trim in the new house. Baby steps y’all!
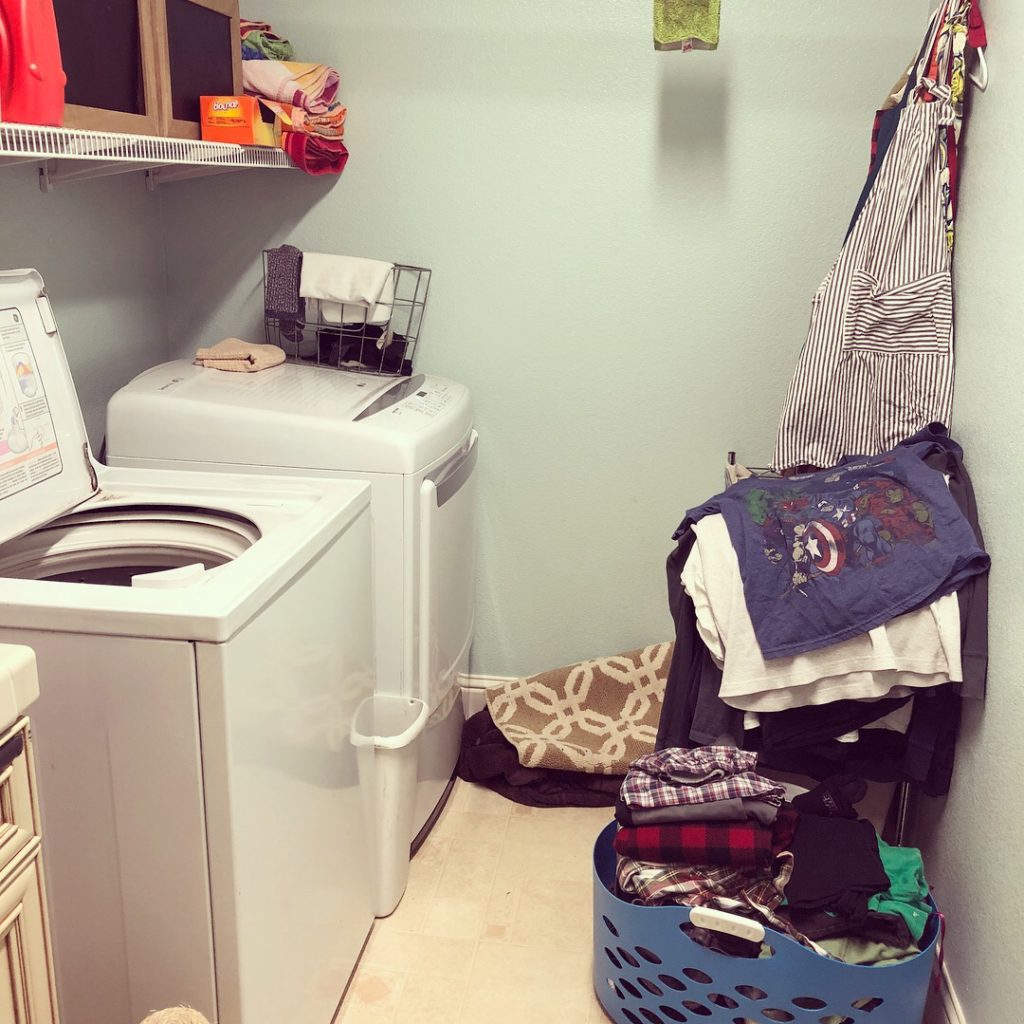
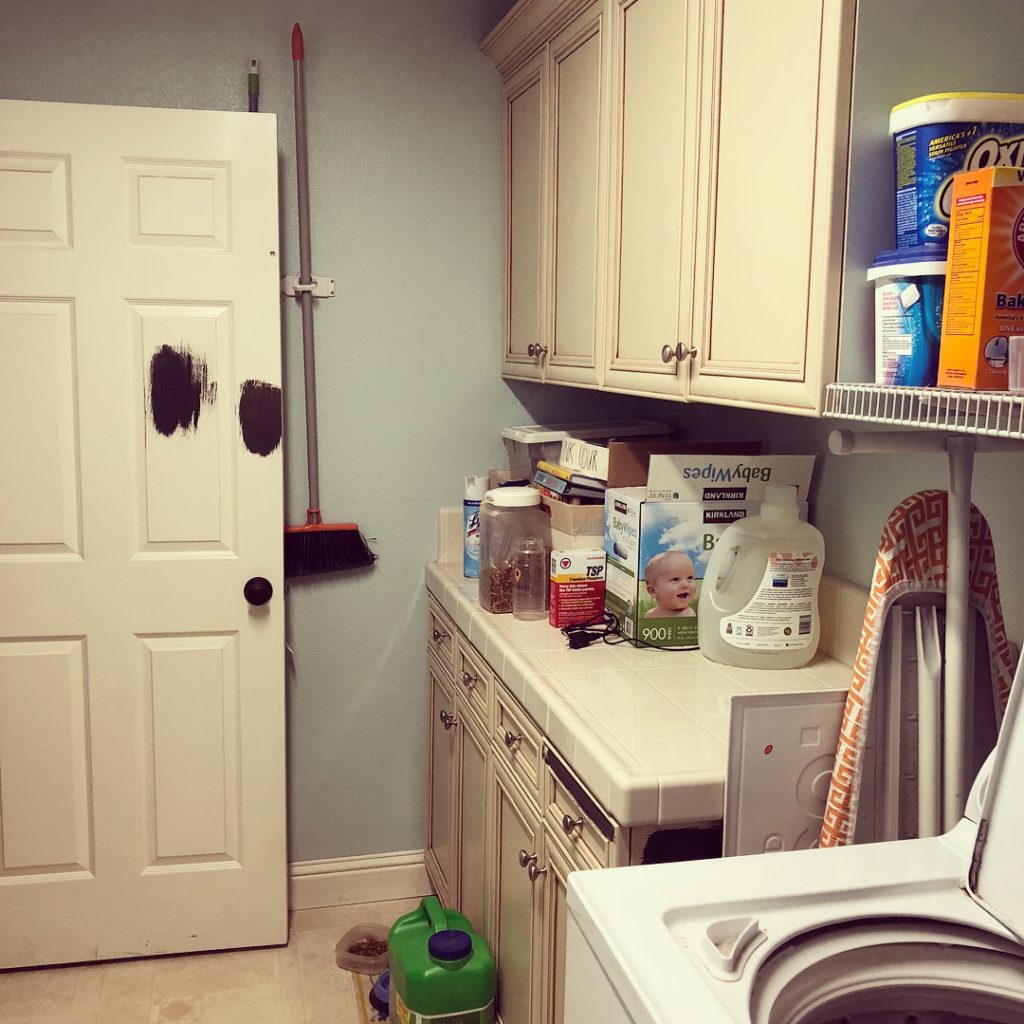
Let’s look back at where we started, shall we? When we bought our home 14 years ago, we did several upgrades but we also kept some things super basic. All of our cabinets were an upgrade, so was the granite and backsplash in our kitchen but we kept the basic linoleum as well as the standard tile in the laundry room. We had lower cabinets installed and we added the uppers when we customized our upstairs office niche. We had the standard cabinets put in our office niche as it was part of the original home design but then we had the cabinet company create a corner piece that fit the space better which then left us with a set of cabinets. My hubby installed them as uppers in the laundry room.
- cream cabinets
- basic builder tiles
- linoleum
- wire shelving
Here she is in all her glory. Gasp. There is a lot going on and well, it was kinda ugly and had way to much clutter happening.
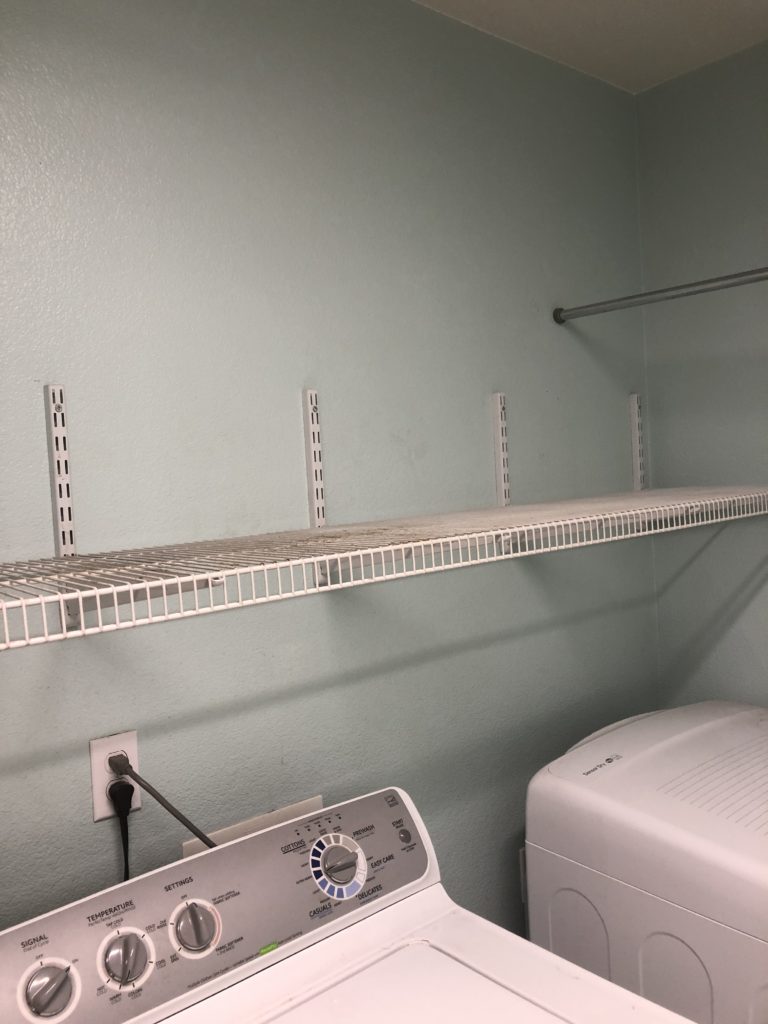
The old metal shelf which obviously needed to be dusted!
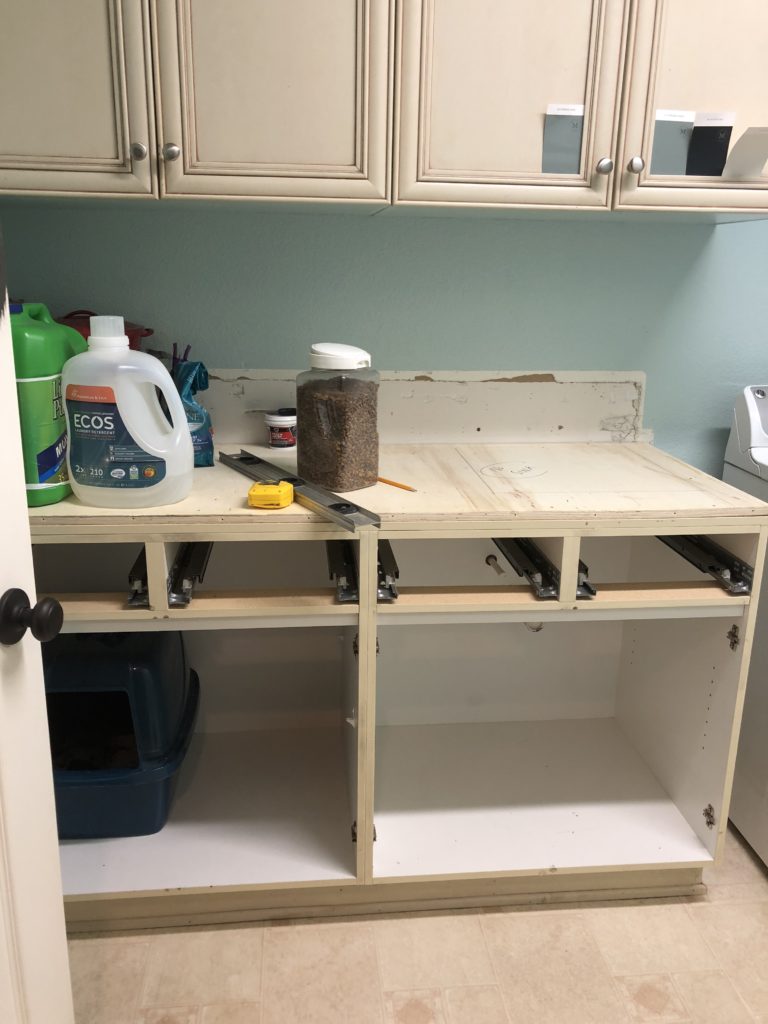
The new countertop – in process. I still hadn’t decided on my cabinet color at this point.
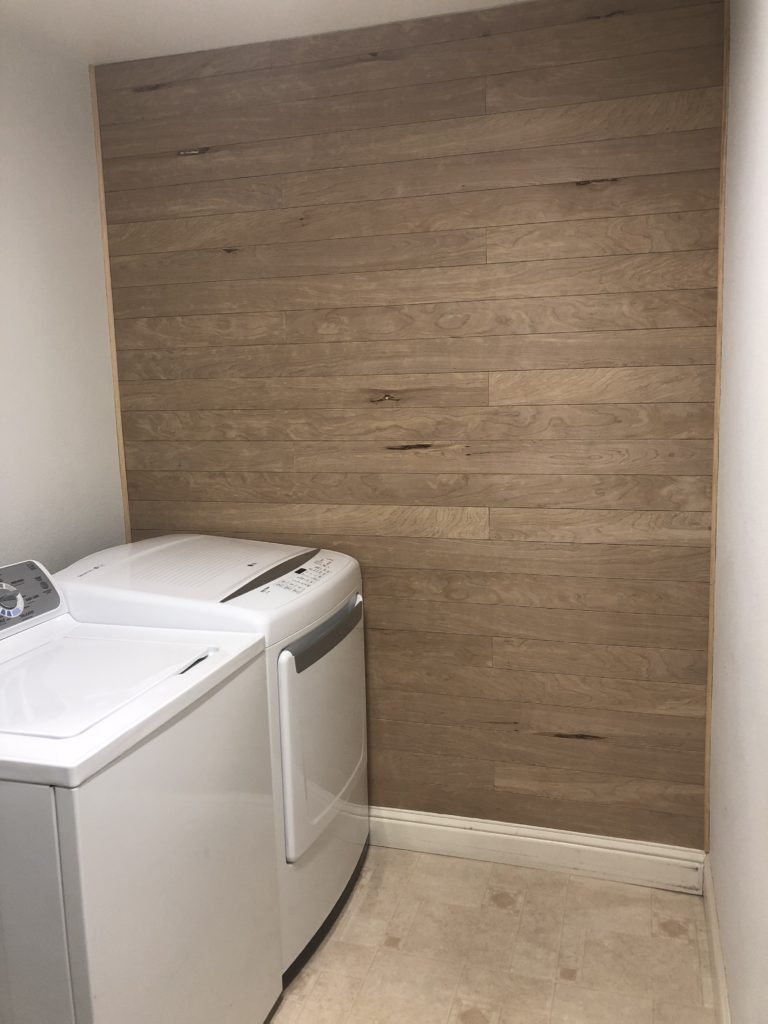
The shiplap wall in progress.
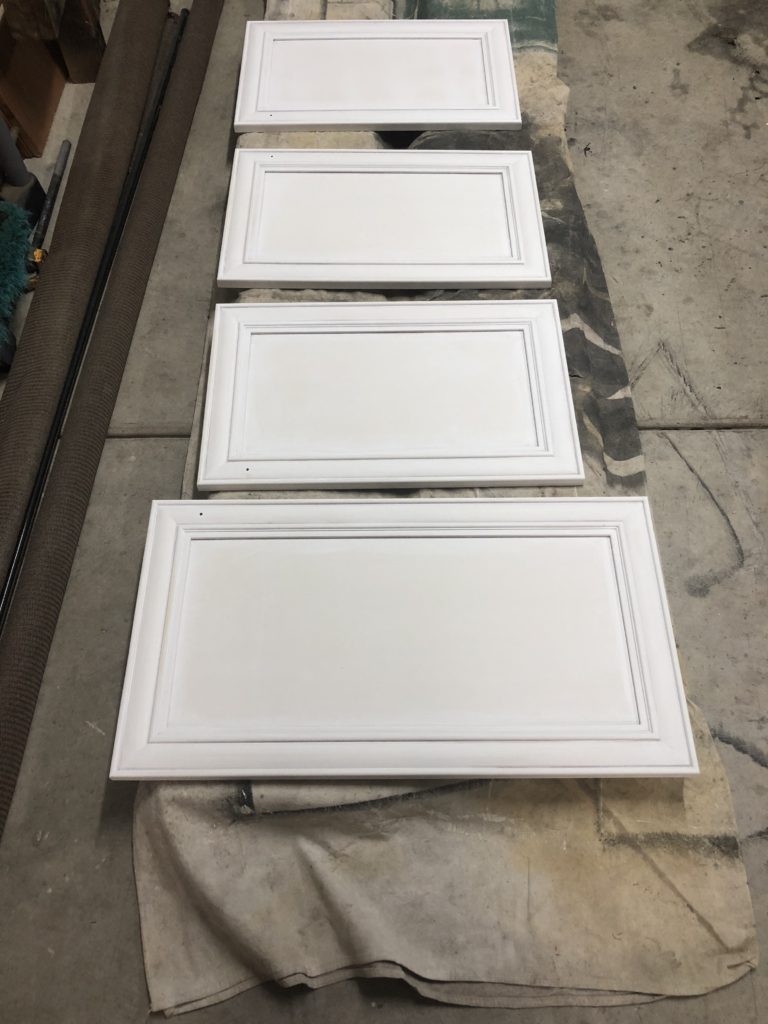
Cabinet fronts being primed.
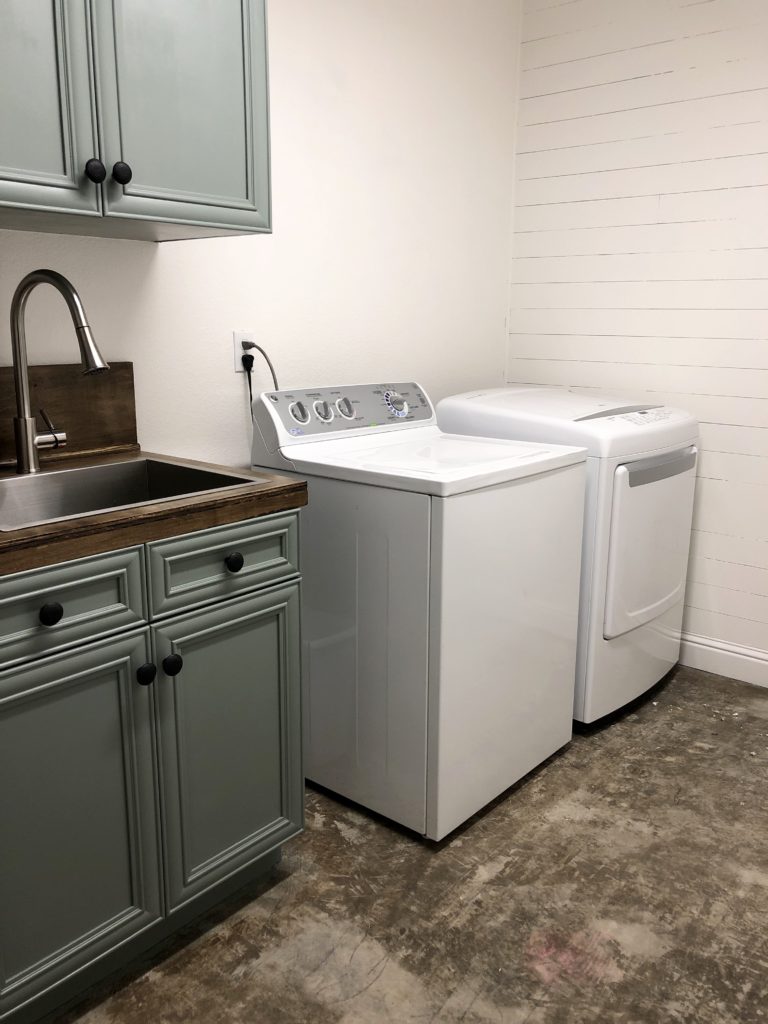
The sink + faucet are installed and the plumber has it up and working. Everything is painted – including the countertop, cabinets, and walls.
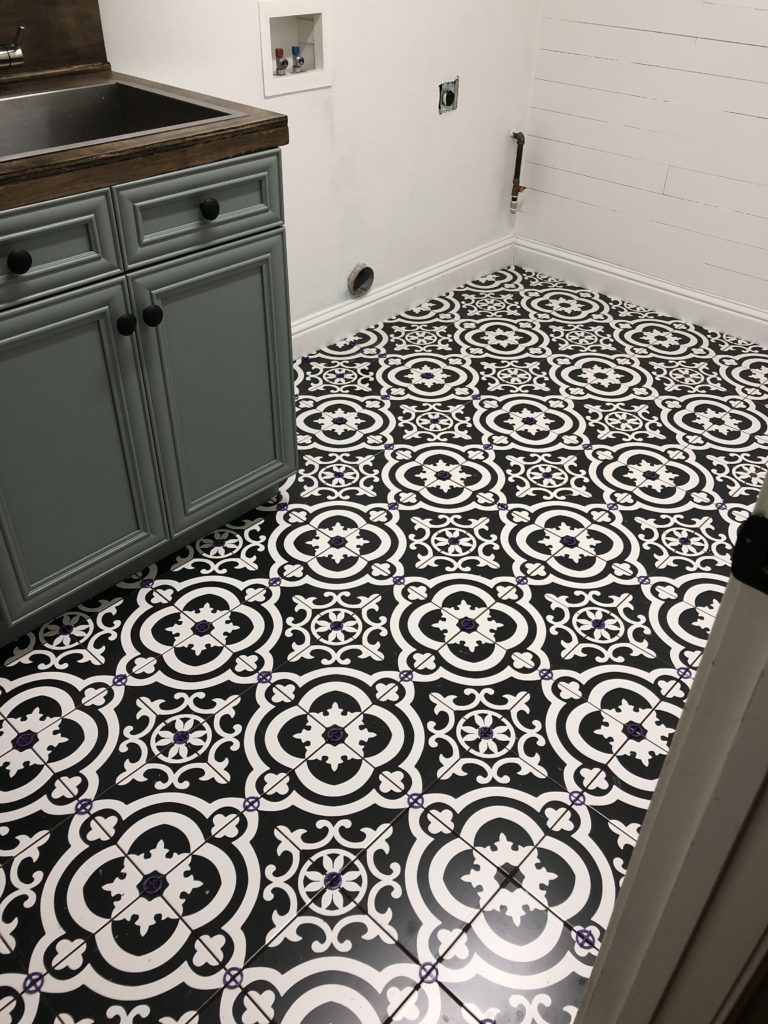
The tile is set and waiting to be grouted.
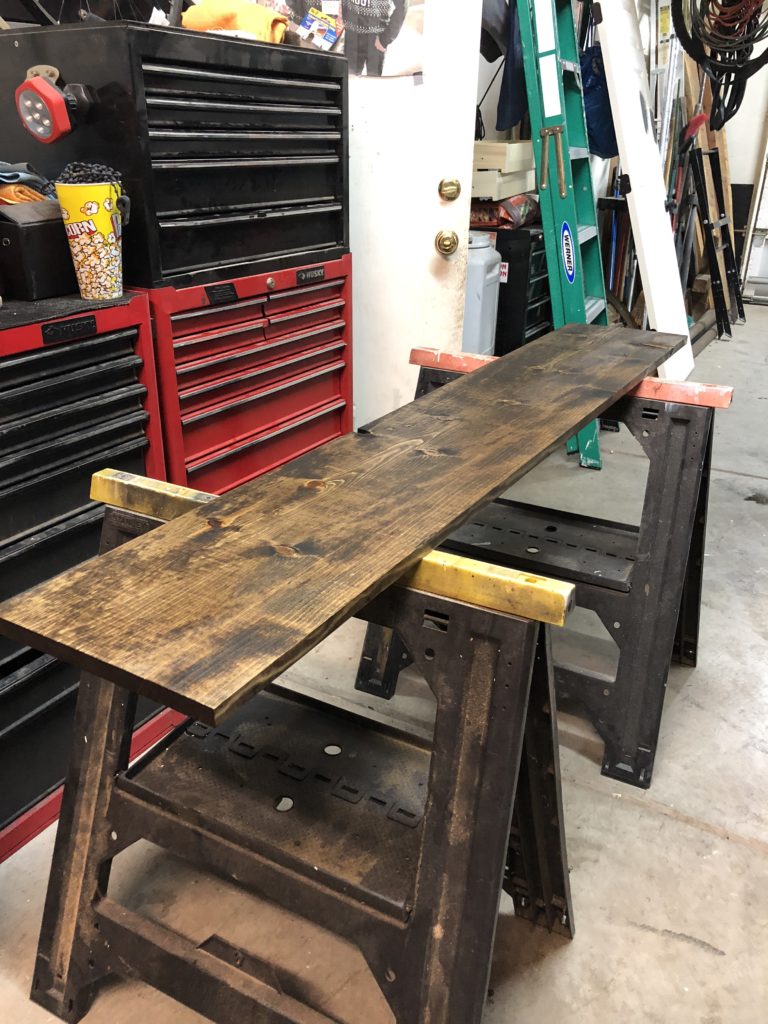
The new shelf in progress. I love Minwax Dark Walnut stain. Something about staining wood is so cathartic for me.
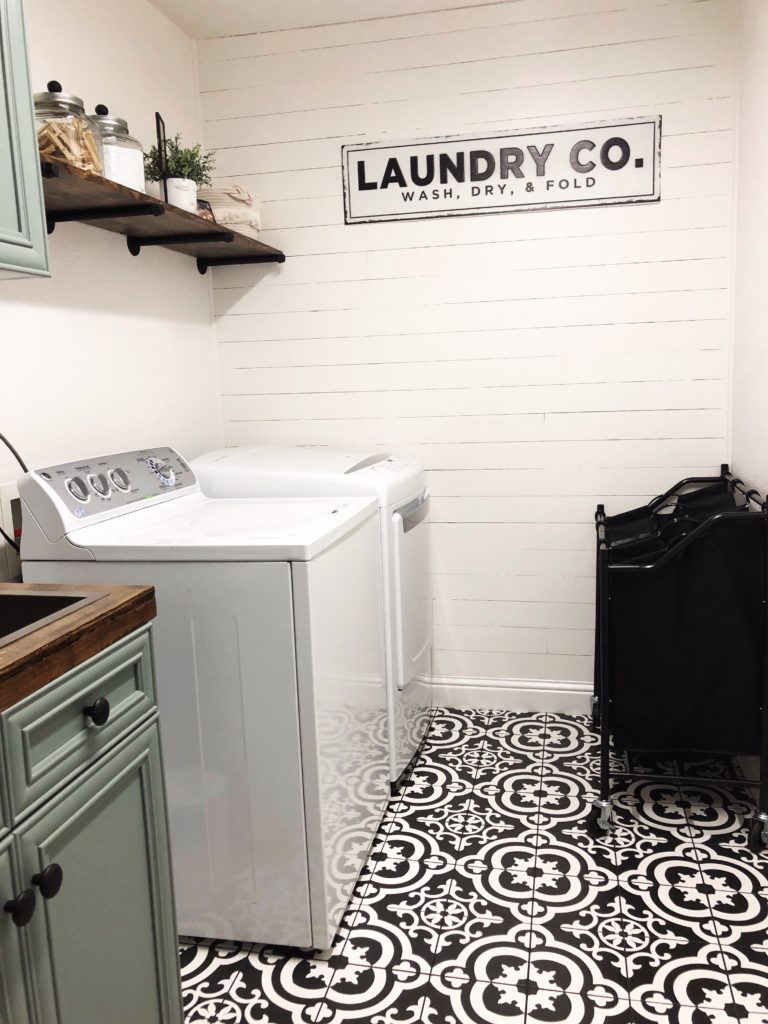
What changed? First off, mad props to my amazing hubby we really took a lot of my vision and created what I wanted with a lot of sweat and some cussing. He built, he installed and made this space come alive. I basically had the vision, bought the stuff, painted everything, helped with the grouting process and decorated. He did the heavy lifting. I’m a lucky girl! He’s a tired guy. Who won’t do a project for me for a while now. So hey there summer DIY hiatus. How you doin?
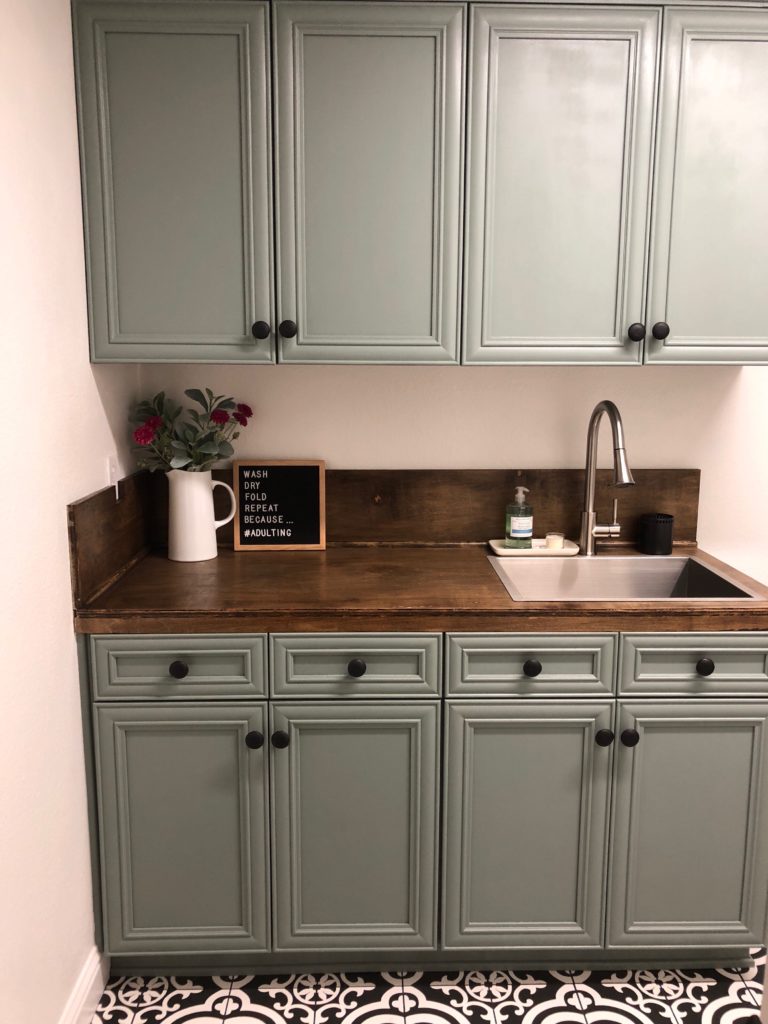
- We built a wood countertop and stained it.
- We installed a sink and faucet.
- I painted all of the cabinets and walls – twice!
- We installed a shiplap wall.
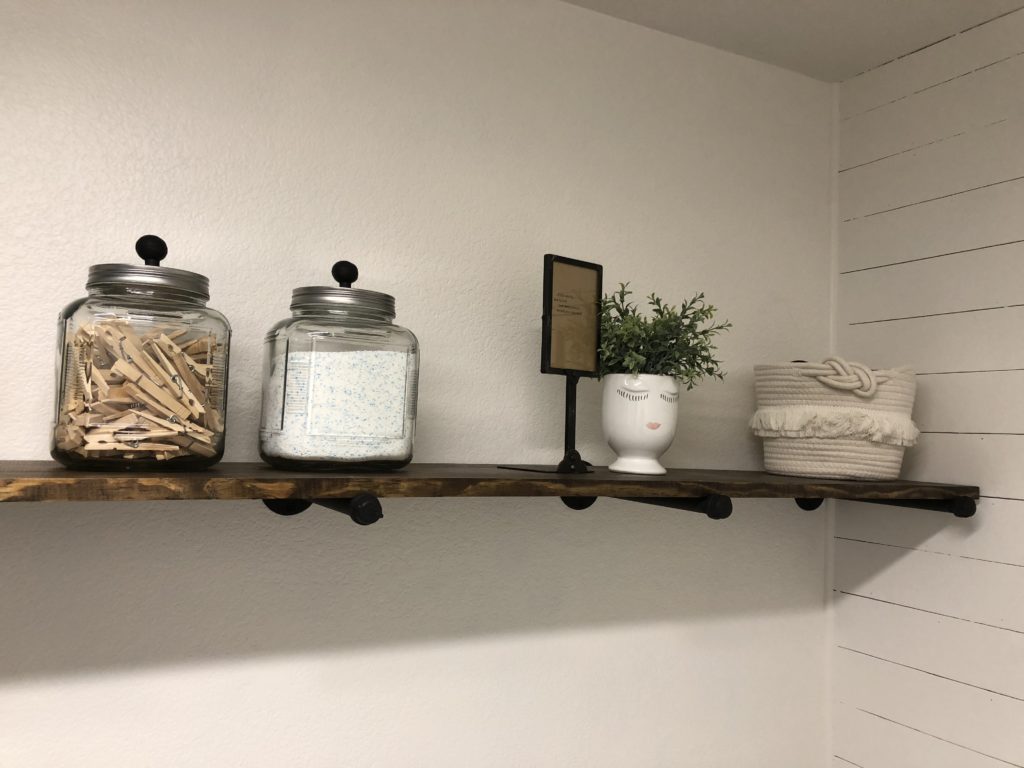
- We built a pretty shelf and hung it with industrial pipes.
- We installed beautiful new tile floors.
- We added some fun details with black hammered knobs and other fun accessories.
What else went into this space? Organization and purging my friends. Making over a space always gives us a chance and reason to get rid of things and re-evaluate how to make a space more functional. Just because you have drawers, doesn’t mean that you need to pack them full of crap.
Are you ready to see this awesome reveal?? I can’t even believe that it is the same space. Gah! It’s gorgeous in every detail.
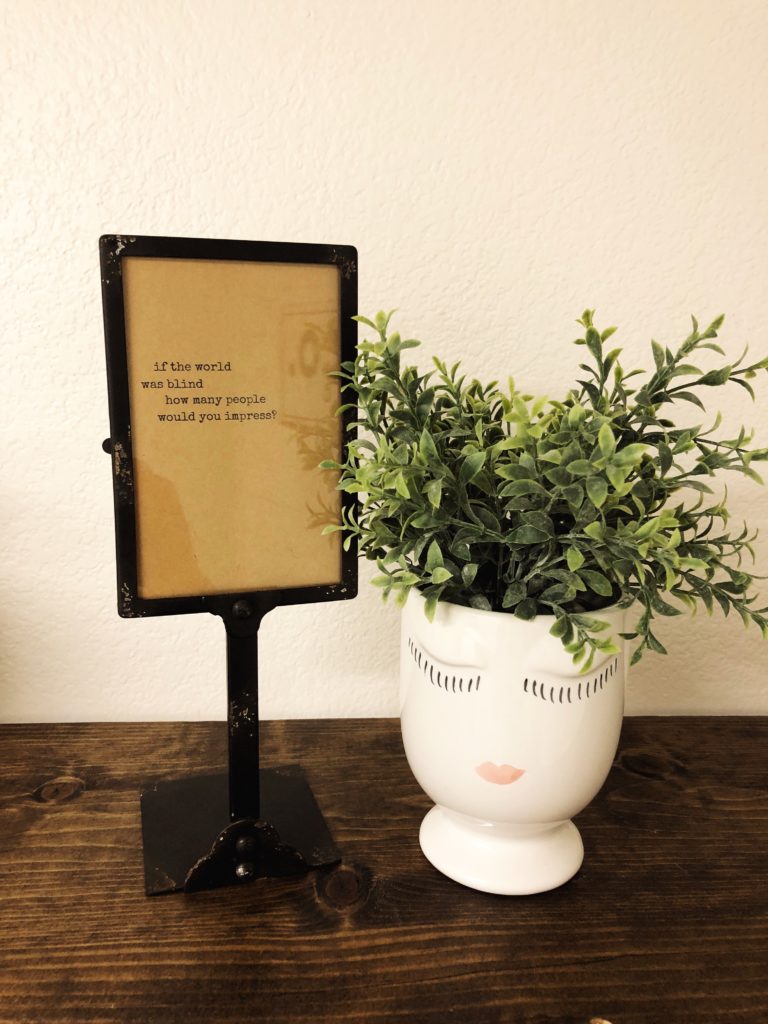
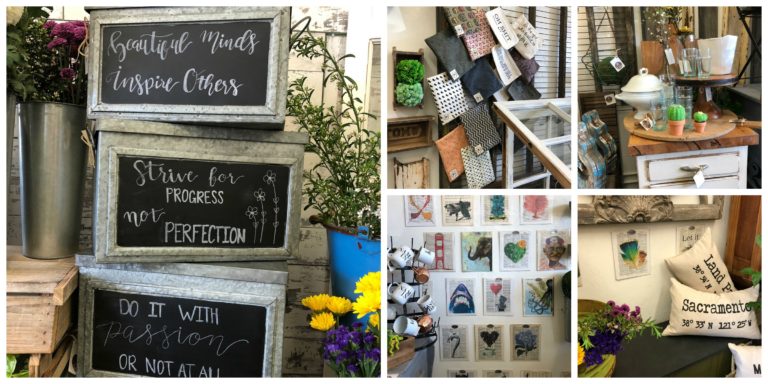
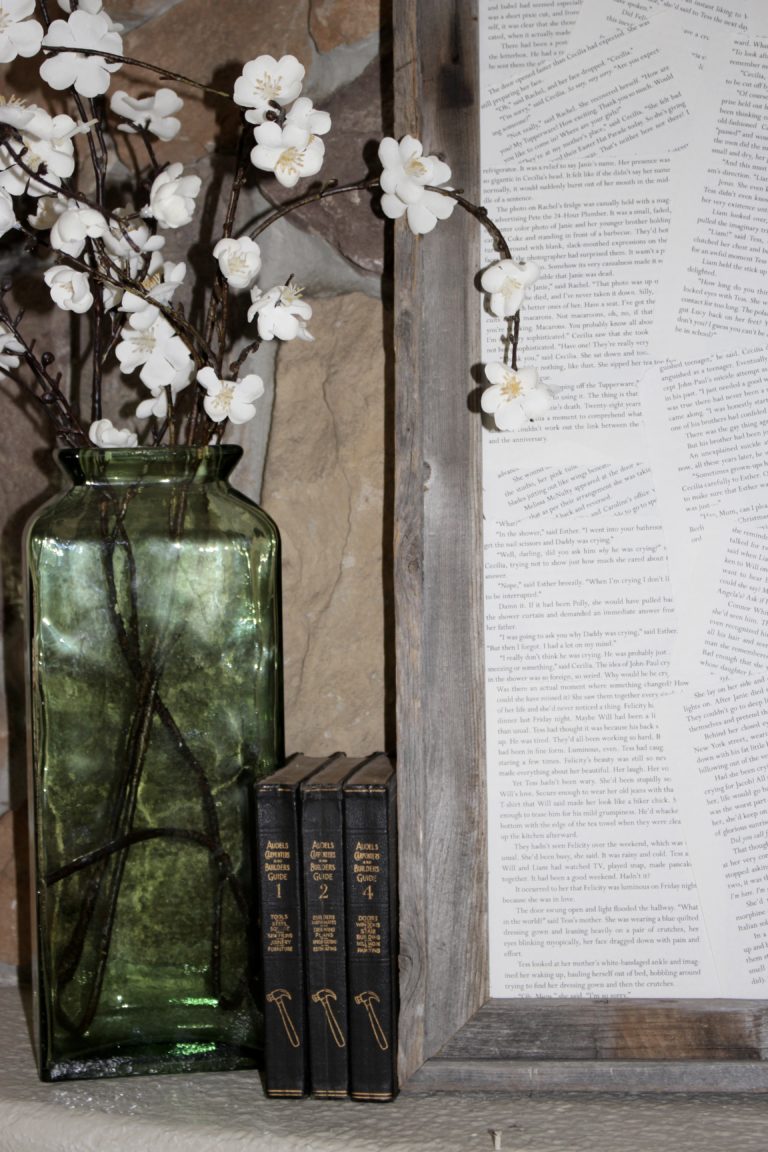
This little vase was a must after spotting it on another blog. I scooped it up on clearance on Marshall’s. It was filled with funky dried flowers so I pulled those bad boys out and added this cute faux plant. This awesome metal stand is actually a photo frame but I loved the quote that it came with so I won’t swap it out. I picked it up last week at a local market called H3Barn. You can check it out here.
If you are curious where things came from, I’ve included the resources below. There are some affiliate links included.
- sink – Amazon
- faucet – Amazon
- tile + grout – Lowes
- cabinet paint – Silverado Sage by Magnolia
- wall color – Swiss Coffee by Kelly Moore
- laundry room door color – Urbane Bronze by Sherwin Williams
- rolling laundry cart – Amazon
- laundry room sign – Kirkland’s
- letter board – Amazon
- face in a vase and plant – Marshalls
- large jars – Marshalls {similiar here}
- clothespins – Amazon
- hammered black knobs – Hobby Lobby
- woven basket – Target
- metal sign – H3Barn
- ironing board cover – HomeGoods
- washer {coming in June as we know there is a fab sale happening} – Home Depot
So what did this makeover cost? Maybe you don’t care, maybe you do but I was curious so I added things up. Drum roll please! Oh, I am not including the washer as I am not 100% sure what the sale price will be and it’s not physically in the space yet. I estimated that this makeover cost us right around $1,000. It was a bit pricey but it really has so many awesome touches. I think it was money well spent. I already enjoy laundry more.
N O T E: a couple of things did not happen in time. I didn’t get the door to the laundry room painted and the hooks that I ordered were not the ones I wanted. They were too small so they will be headed back and I will continue searching for the perfect ones. Also, originally I had planned to keep the cabinet fronts off of one of the lower cabinets and make a curtain to conceal the cat box but we just didn’t want that kind of eyesore in this beautiful space so we have decided to move the cat box to the guest room which is only used a handful of times a year. When we have guests, we can bounce it back to the laundry room. We also didn’t want to lose the under cabinet storage space.
Here’s the thing, we are DIYers. It’s a lot of sweat equity but it saves money and it does feel so good to say, “I did this!” I know that many people are not DIYers and will hire someone to do projects. I don’t think it matters how a project comes to be – you do you and own that! I am a current stay at home mama/blogger so we don’t have a second income plus I am crazy and love the process of DIY – mostly 😉 Thank you so much, sweet friends, who’ve commented and cheered me on through these past few weeks of my personal revelations. I so appreciate all of you! Having people follow this blog – which is a whole lot of work behind the scenes – means to much to me.




Impressive overall Gabby!
Thank you Callie!
So. Much. Better. Seriously this room is so so lovely now – great job! xx
Thank you!! 🙂
So gorgeous!! Love it all!!
Looks great! Love the tile floors.
Gabby this space is amazing! I LOVE the cabinet color. It’s beautiful! Most people just go white but you knocked it out of the park girl! And love love love the tile! You did an amazing job!
Thank you Wendy! You are SO sweet! I love how this space turned out.
Looks great! I would want the doors open all day long! 🙂 Great combo of colors and textures 🙂
Thanks Kim! So far, we haven’t put the door back on! Ha. It’s a pretty space and I really don’t mind doing laundry AT ALL.