$100 Room Makeover Challenge | Week 3 | Master Bedroom
Hi friends! Can you believe that we are already on week #3 of this fun challenge? For those just joining in, please check out the prior weeks to see what we’ve been up to {links at the bottom of this post}. For a quick catch up, this is a $100 Room Challenge that was started by the amazing Erin over at Lemons, Lavender and Laundry. Her makeovers have been pretty inspiring. She even inspired Rachel Ray last week. Literally! She was on Rachael’s show to talk about her own $100 makeovers. Click here to check it out.
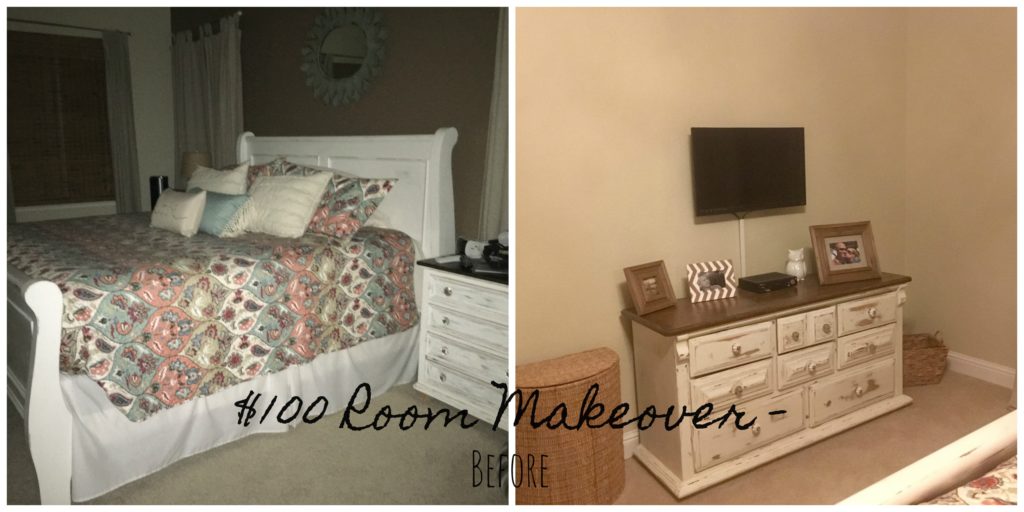
For the challenge, I chose to overhaul my master bedroom. This is a pretty big space. It wasn’t in awful shape but I really wanted a refresh. It quickly spiraled from painting the walls and adding some new decor to also repainting my furniture.
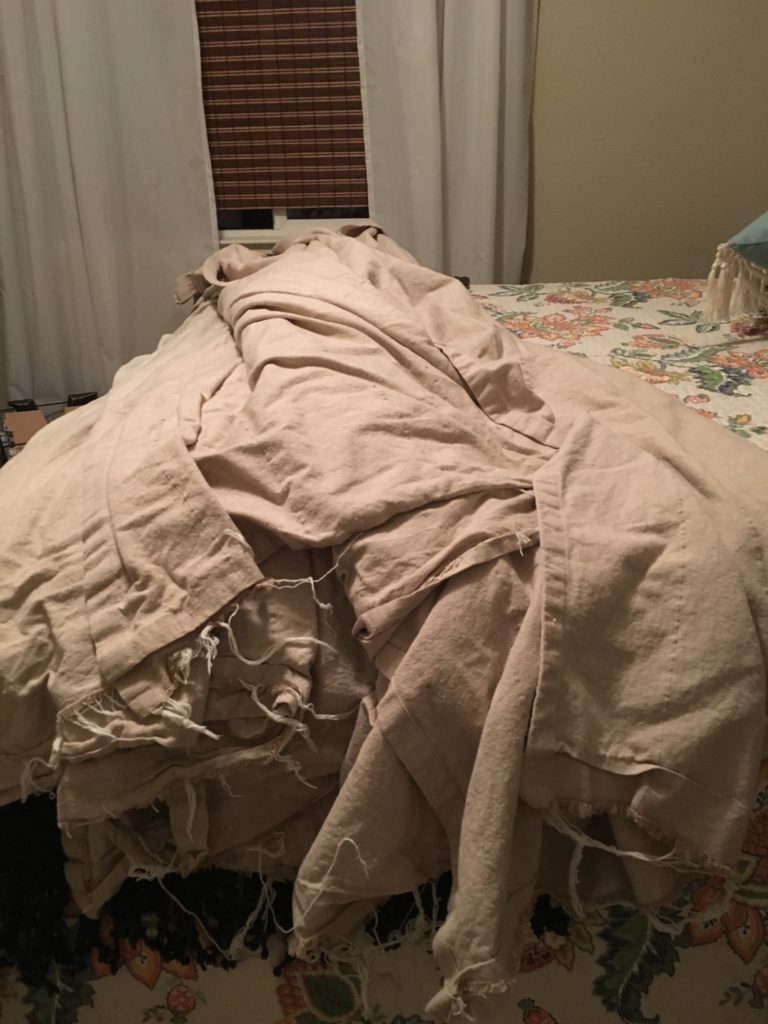
 I am having a bit of dilemma in the space in regards to my curtains. When I pulled them down to paint the room, I decided to wash them. Well, this turned them into a big wrinkled mess. It might take a lot of starch to make them right again people. I don’t ‘love’ them but I also don’t love the space without them. I am seriously on the fence as far as putting them back up. We are going into the colder months which means that we don’t need them as much to keep the sun out. I guess I should decide cause 4 windows with 2 panels each is a lot of ironing. Also, I had them hemmed with a hemming tape and it came out in the washer + dryer so now they are all unraveled. Seriously. Look at this mess of fabric. I think I might have just made my decision. Eeek.
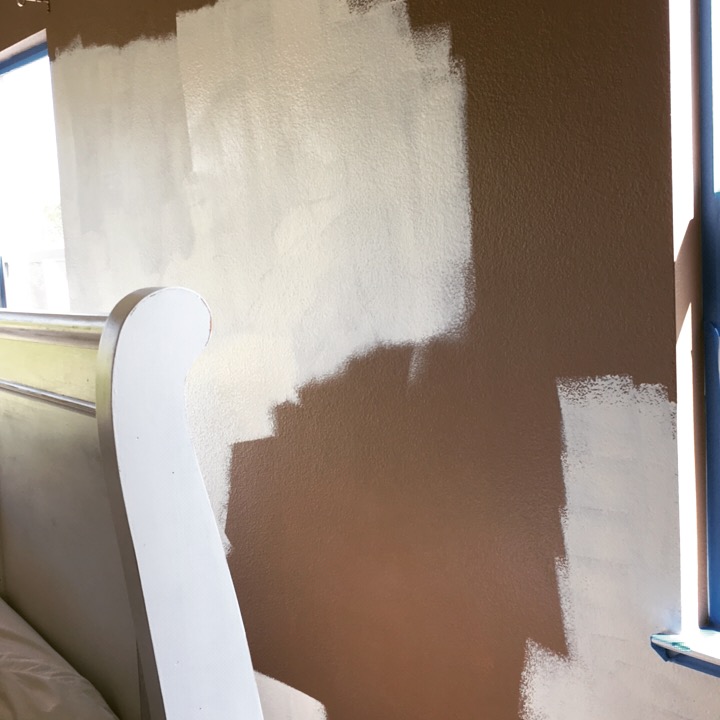
 The progress has been pretty awesome and I am getting close to the reveal. Eeeeee!! I am so excited! I love room reveals. It makes me feel all Joanna Gaines. Ha! Last week I painted the whole room which was quite the task as it’s a large room and one wall was painted chocolate brown so it took some extra coats. I might have had a, “what have I gotten myself into” moment. I only panicked for a quick minute then I remembered that this was not my first rodeo and that I love how awesome a room looks after I make it all fresh and pretty with a fresh coat of paint. Here is how it looked mid-paint. Whoa, right?
 When I cleaned out the room to prep for painting, I noticed that my ‘white’ dresser was starting to look yellow. Here comes the spiral … I decided to repaint my dresser and nightstands. I kept my bed white as I really do love how it looks and I felt like it helped keep the room bright. Plus, I would not have enough paint to redo the bed and other furniture with using what I had on hand. I have gotten a bit more relaxed about mixing patterns and furniture finishes as my decorating style have evolved which takes off the pressure of making everything match.
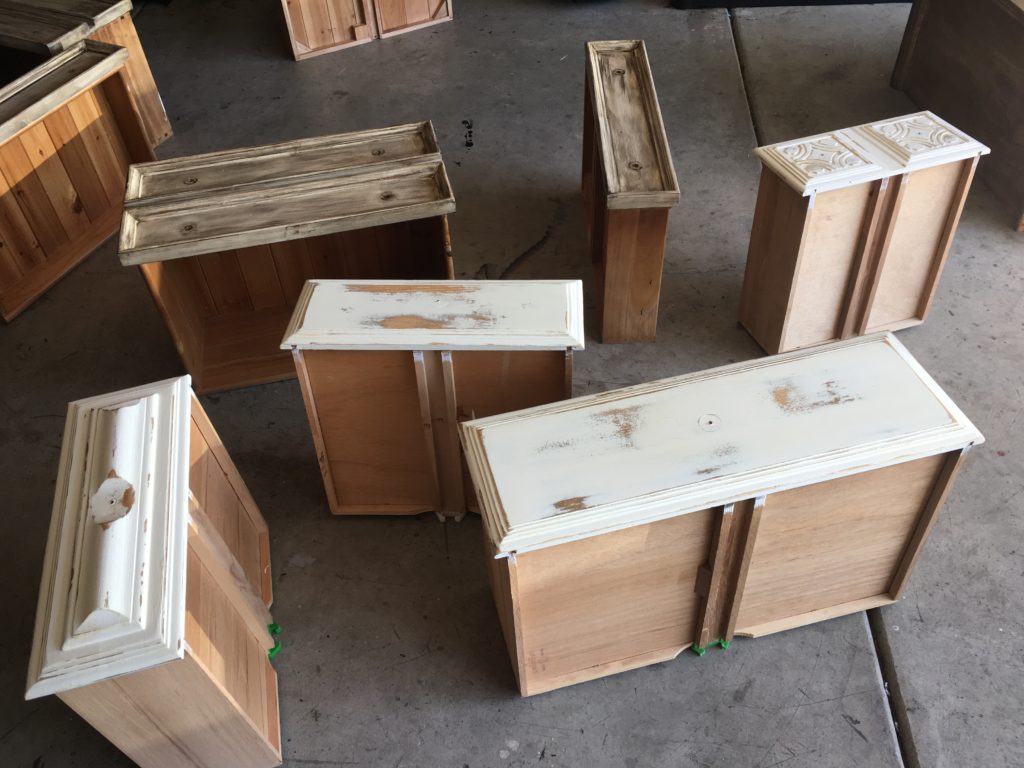
My process for painting my furniture is a bit haphazard but it gives me the results I want. First I do a coat of Annie Sloan Chalk Paint {I used the white that I had on hand}. Once that dries, {this happens pretty quickly which is why I am such a fan plus it requires virtually no prep work which is good cause our sander broke. Nooooooo!}, I applied a couple of coats of Minwax stain in Dark Walnut. I used an old cloth to apply the stain. Stain can be a bit tacky so it needs extra drying time. Here are my drawers before, during and after. Now they have a bit of a rustic feel whereas before they were a bit shabby chic pre-makeover.
 So let’s talk about what I have done to this space since we started this challenge:
- Painted the walls
- Painted the dresser and nightstands
- Switched out the knobs on the dresser and nightstands
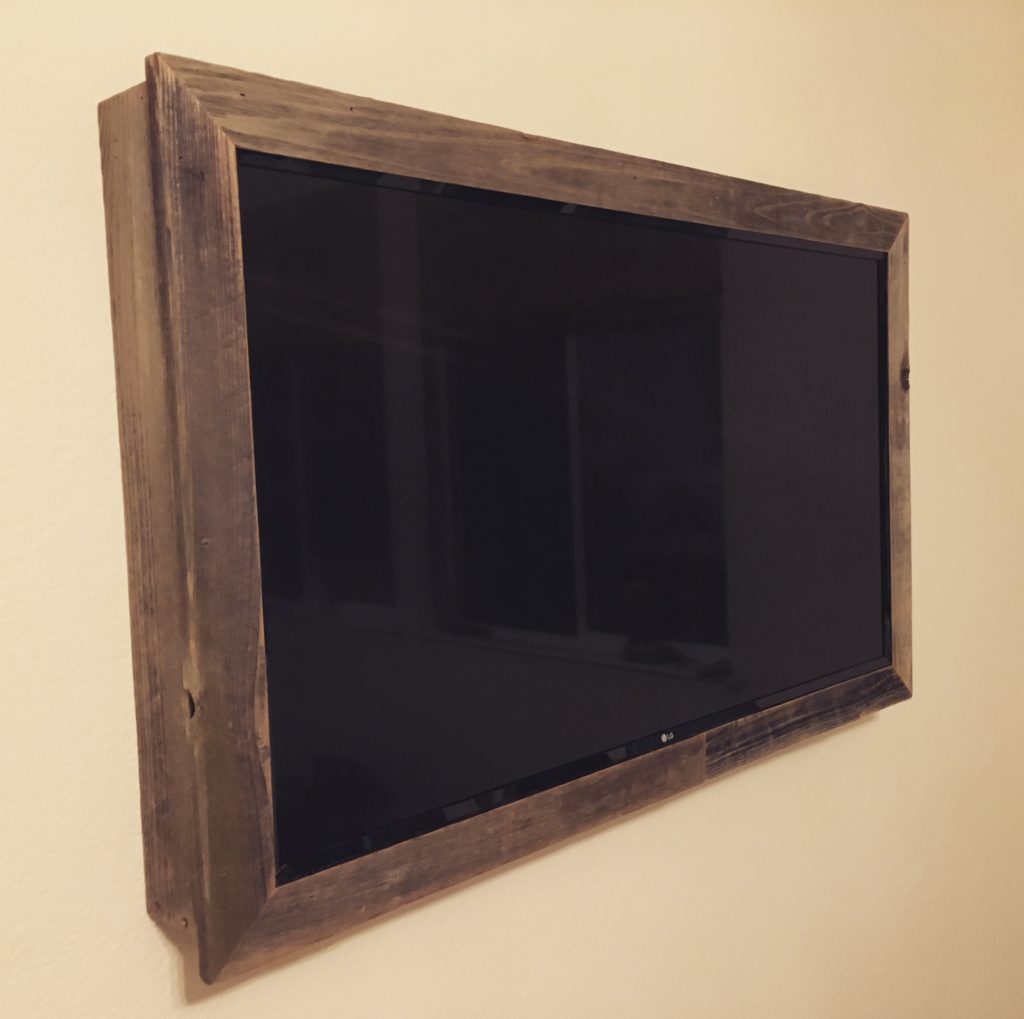
- Supervised as my hubby created an awesome frame for our TV using some old fence boards that we had on hand. OK – I didn’t supervise at all. I showed him some ideas and he ran with it. He’s awesome like that. I love how it turned out. I shared a photo on Instagram and someone suggested that we drill a few holes so that it can vent. We hadn’t thought of that so I am grateful for the suggestion.
So obviously, I’ve made some good progress but I have to do the big reveal next week so ….. what’s left? The best part! Pulling it all together. Throwing on the bedding, adding the decor to the walls and making it look pretty.
I will be giving my total next week once I decide what I am keeping decor wise. As of now, the knobs cost me $22.00. I was even able to sell the other knobs for $20 so really, I am breaking even which is awesome. I will still count the cost in my final total though. 😉
I am so excited to see this space completed! It’s been fun watching the other participants making their spaces pretty too. Check out the awesome bloggers below and see what they space they are making over in this $100 room challenge.
Stay tuned for next weeks BIG REVEAL.
week 1 / week 2 / week 3 / week 4





I have also thought about framing my tv but my hubby gets all crazy about venting. Yours looks so good though! I cant wait to see your reveal next week!
Honestly, I have a firefighter hubby and he/we didn’t even think about it! Someone suggested drilling holes to let it vent so that is going to happen today.
I love the framed TV! It looks great!
Thank you!!
How did you come up with that idea? x
OMG that frame around the TV is GENIUS!! So excited to see the reveal next week!
Thank you!! I am excited too! This has been fun.
omg i hemmed taped curtains before and had the same problem. I threw them out hahaha I can’t even deal with ironing.
I am pretty good at ironing but these are freaking me out! Ha! I don’t think I am up for the challenge this time. Ugh. No more hemmed tape for me.
I feel your pain with the curtains. My youngest flung some baby food prunes at ours… I was in no hurry to wash them, so I waited… years. When I finally got around to it, they shrunk… as in they were 6″ off the floor. When I redid our dining room for January’s $100 Room Challenge, those curtains were out. Replaced them with some from IKEA (which has cheap curtains that look great).
These are IKEA curtains. I love the price and length of their curtains but note to self, don’t use the hem tape if you ever plan to wash them. I am actually not sure if they shrunk … guess I should check that too!
Yep, my ikea curtains also shrunk when I washed them. Major bummer. But if you decide not to put them back up, the fabric is awesome for repurposing as pillow covers or upholstery!
Hi Carrie, That is what I was thinking. Repurpose, somehow, someway 😉 I wish it was something cuter than just plain tan.
Did you get the stain out? x
I love that framed TV. Hope you figure out a curtain solution. I would throw them back in the dryer individually with a wet towel and hope that it takes out the wrinkles.
Thank you Emy! Good idea! I still need to trip and rehem though. Eeeek! So much work.
Isnt is just amazing? x
Wow! The TV! This is Soo nice
Thank you!! I LOVE how it turned out. Thank goodness for my hub’s woodworking skills.
How long has he been doing it for? x
I agree with everyone else the framed TV is great. I would throw the curtains out. So much work, easier to buy new ones at IKEA.
Right? Thankfully the price is pretty good there. $20 a set vs $20+ per curtain. Happy Friday to you!
This is coming together! But oh my goodness, I don’t think I’d have the heart to take on those curtains! Maybe it’s a sign to move in to something new….
I am so with you on that one! I have stuck them in my spare room and I just can’t even look at them! Ha ha
I absolutely love how your dresser and nightstand are turning out! They look completely different! That’s so cool for this challenge. Can’t wait to see it all pulled together.
I am loving your furniture makeovers!! The stain is perfect! And I totally feel your pain on the curtains. I had drop cloth curtains I made for our living room and decided to wash them – it was a frayed mess that was about 3 inches too short! I can’t wait to see your reveal – it’s going to be amazing!
Thank you Melissa. The curtains are definitely not making a comeback. #lessonlearned
Love how one paint job turned into more! And the TV looks fantastic! Can’t wait for your reveal!
Thank you Lindsay! The spiral struggle is real Ha ha! Excited to see all of the awesome reveals.
That frame your hubby built! Love it!
Thank you Stephanie. He’s a trooper with the projects I give him. I am quite happy with how it turned out too.
it’s looking great! Cant wait to see the rest. Thank you for posting x