Master Closet Makeover – The Reveal
Hey friends! This project has been a bit slow. Sort of. I’ve had my master closet on my brain for a while. Let’s go back to the beginning, shall we? We bought our house almost 15 years ago. When we moved in, I was the mom to an active toddler and I was really into scrapbooking {stay with me here}. At the time, our rooms all served a purpose and the built-in office niche was no place for a scrapbooking mama to lay out all her scrapbook supplies cause said busy toddler would likely tear into everything like the Tasmanian devil. So we got creative and turned my large master closet into a bit of a craft room for me. This was great – for a while. Then I felt like I was in a cave and realized how uninspired that made me. I need windows and natural light to function as a human. Anyway, then I got pregnant again and well, being a mom to two under three was about all I had time for.
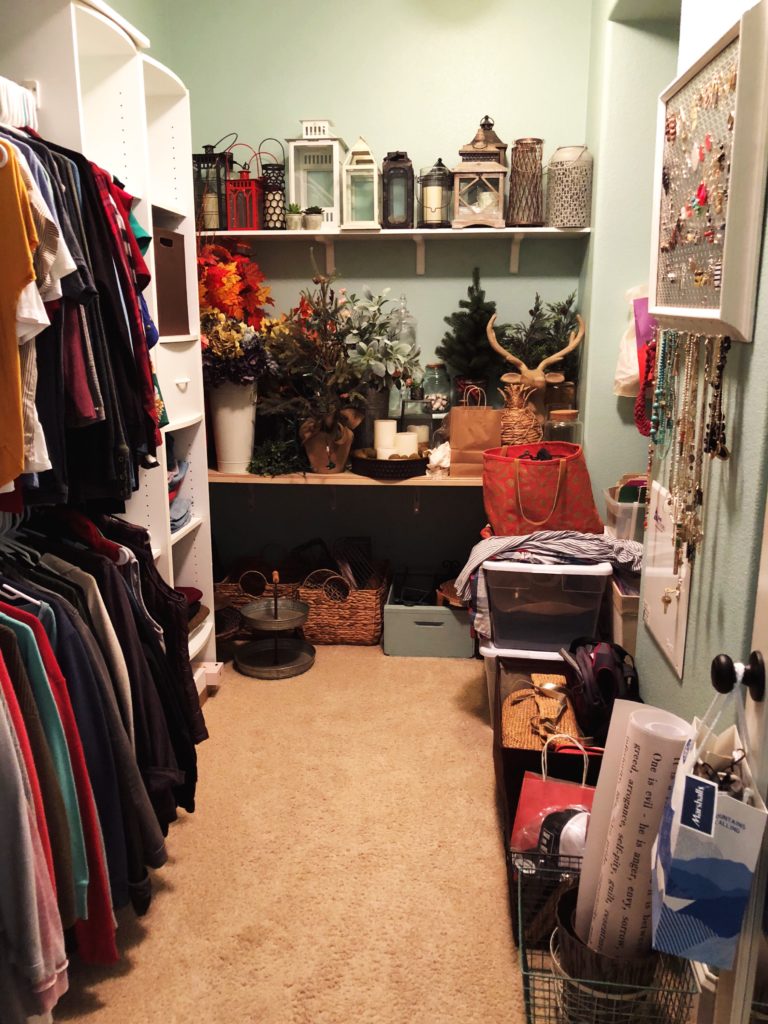
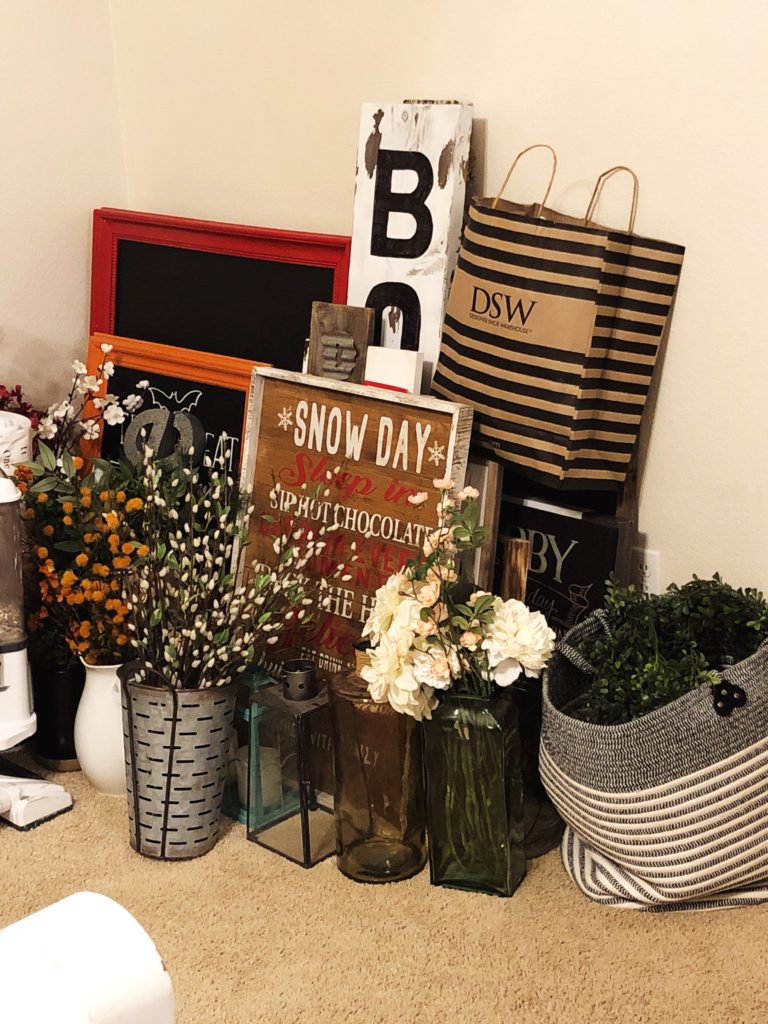
As time went on, I let go of my scrapbook obsession {although I am so grateful for the books I have created which tell a story of my boys younger years} slowly faded. I then realized how much I loved home decor. Like, every time my firefighter hubby would leave for a strike team, I’d paint a room. I bought all the home decor. I changed my mantel almost monthly and kept up with the holidays. This love and passion spilled into my closet. Literally. It became my ‘home decor storage space’ aka my own version of Home Goods. It was a sight to be seen and my oldest son often said that he felt like an avalanche of home decor might kill him. Teens are very dramatic I tell ya! So this is where I started obsessing.
SIFTING THROUGH THE MEMORIES
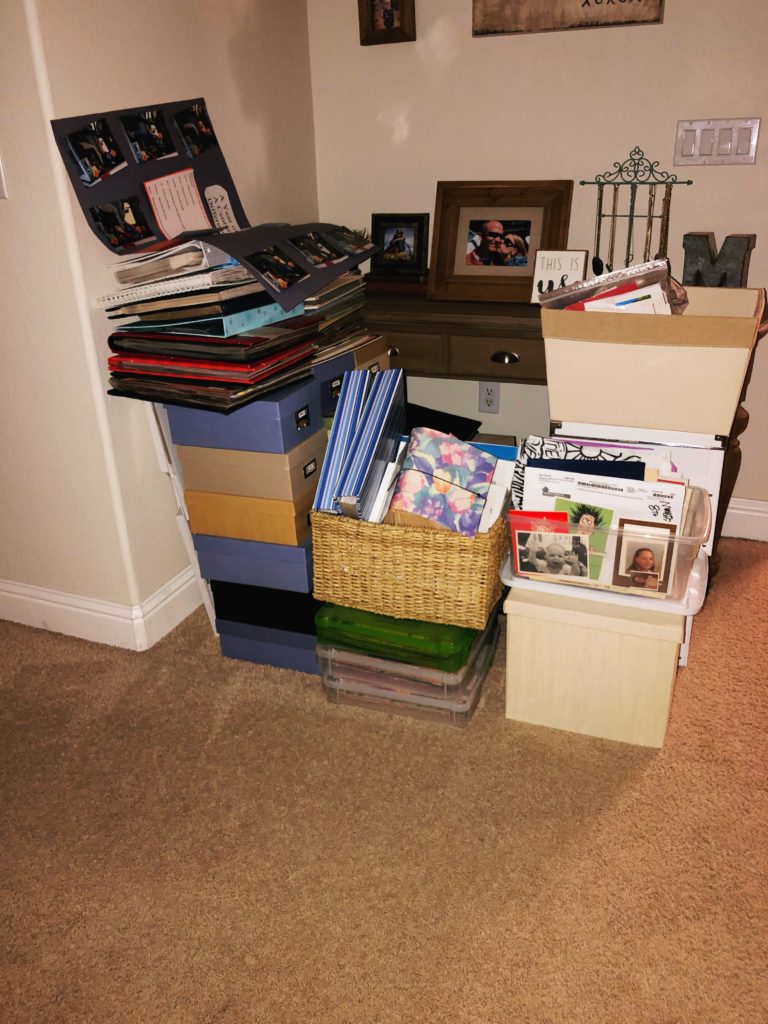
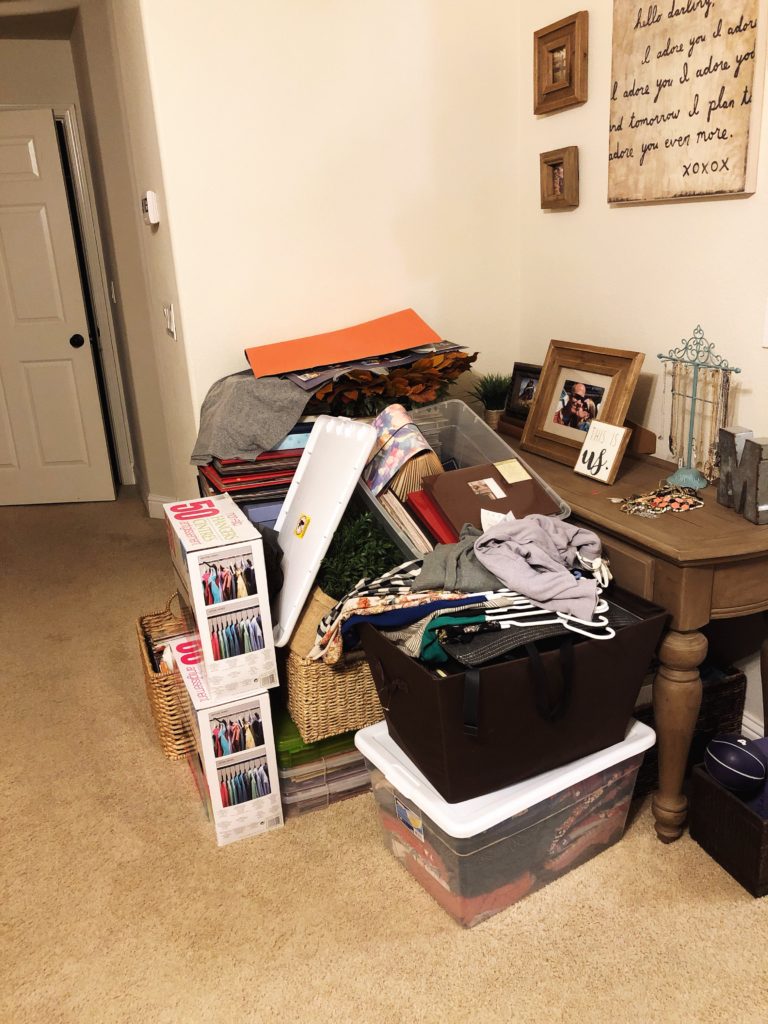
We have changed up every room in our house {except the kitchen but that’s my current obsession – I just need the money to do what I want. Ha} My hubby thought I was crazy for caring so much about a closet but let me tell you, once something takes up so much design space in my head, it’s go time. After the bathroom makeover, I told the hubs that I’d give him a bit of a break from being my handyman. Wasn’t that sweet of me? So we made it through the holidays and I was just over it. So I started by emptying the space. Let me tell you, I had SO MUCH STUFF. It took over my bedroom and spilled into the hall. I was a little mortified at how much I had!
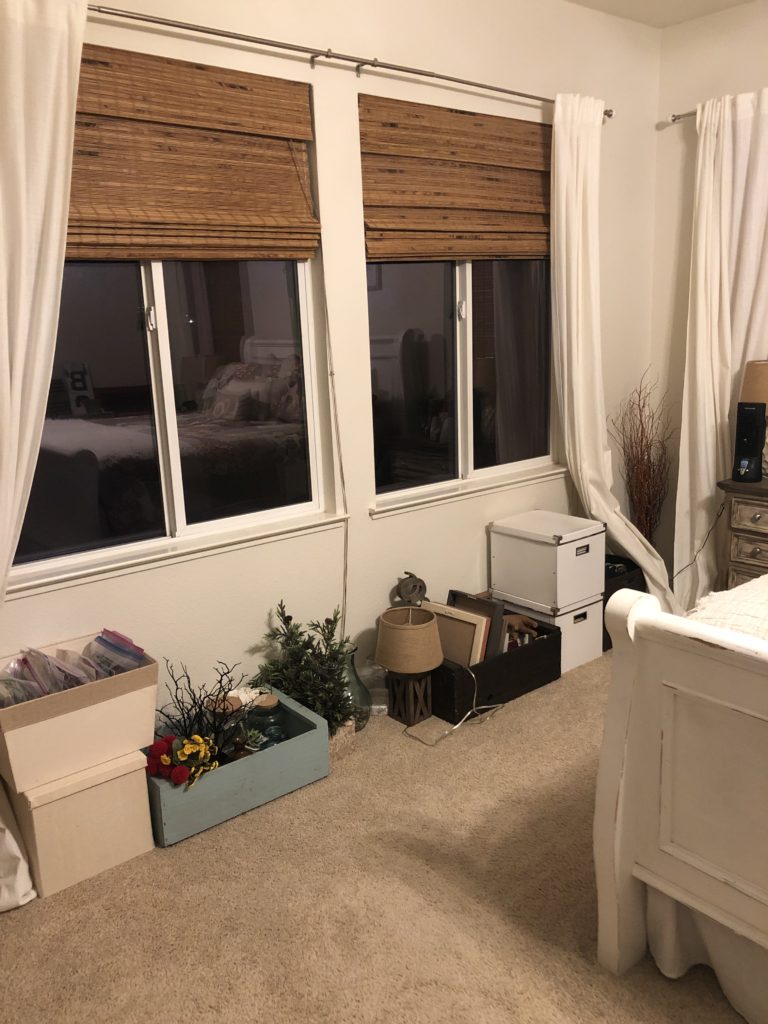
THE CONTENTS OF THE CLOSET TAKING OVER MY BEDROOM
THE PROCESS OF ELIMINATION
Once I pulled things out, I started some piles. Donate, sell, keep and trash. Honestly, I don’t sell a ton cause I don’t have the energy for it. It’s time-consuming to take pics, list and then deal with the random people who show interest, flake, etc. BUT I did sell enough to buy myself some new bedding for my master bedroom. #winning I pulled EVERYTHING out including the shelving and clothes rods. It was a very naked space and it was UGLY. I had painted it pale pink because I was channeling my inner girl in a house of boys. Truth be told, I don’t really care for pink. So that was weird. Then a few years later, I realized I did not like pink so I decided to paint it a pretty blue. Well fast forward again when I realized in my little design journey that I only like neutral paint on my walls. It looks like I was thinking about Easter when I painted this not once but twice. #liveandlearn
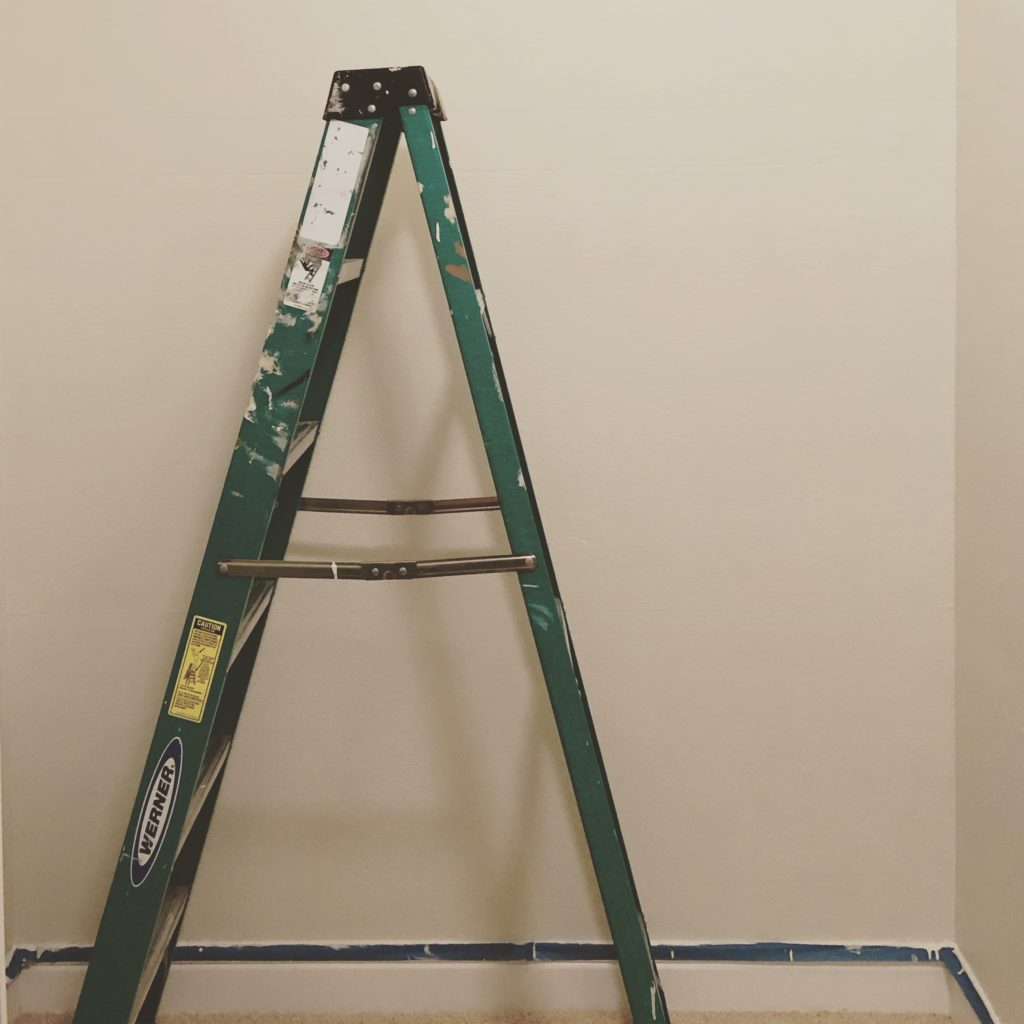
PICKING A PAINT
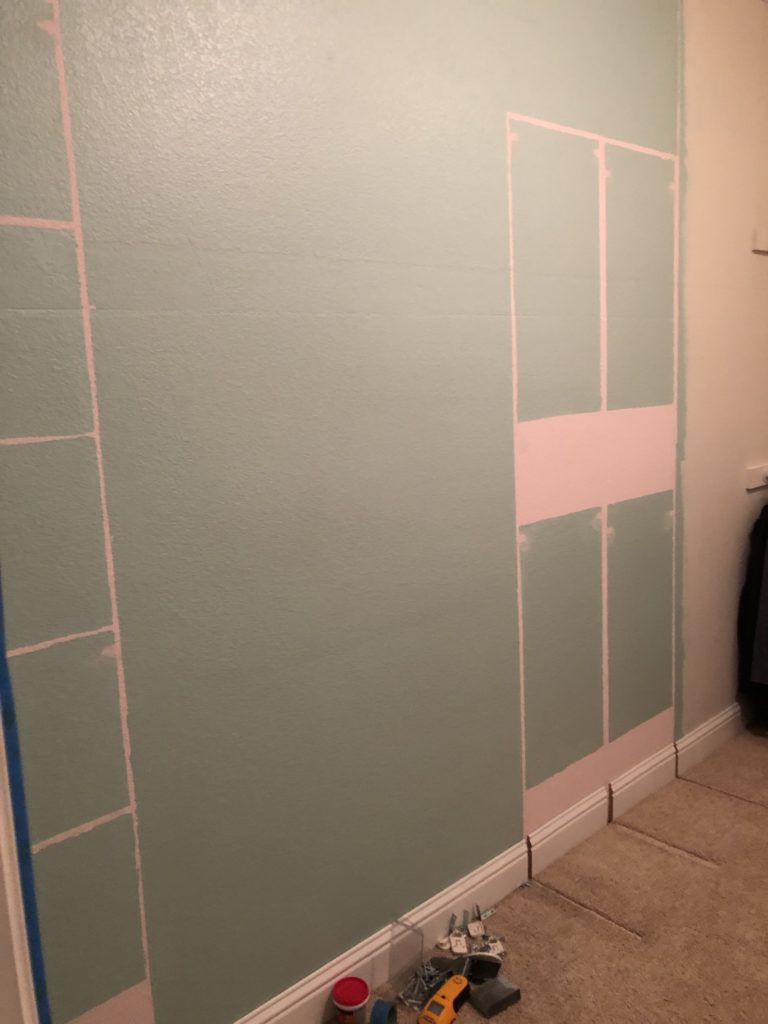
First I patched the various holes in the wall with my favorite spackle. Once that firmed up, I gave it a light sanding and then the manual labor really started. I taped off around the baseboards using Frog Tape. I decided to use Behr Hazelnut Cream which is what I have basically painted most of my interior. It’s a creamy color that still pops against the baseboards and doesn’t have hints of blue or yellow. I painted over the blue and remnants of pink. It felt so fresh and clean so I’d say that in itself was a success.
Next up were the built-ins and new shelving. We decided that we wanted to reuse what we had cause we aren’t rich #truth So I gathered all of the old shelving, in the garage for my latest project – operation makeover melamine shelving. My hubby cut the new shelves as well. Once I cleaned everything up, I gave things two coats of Annie Sloan Chalk Paint in Pure. I love chalk paint for furniture makeovers because it requires was less prep, dries super quick and makes a great base for things like stain, and it works especially good on things like melamine. This is not my first chalk paint rodeo. I love AS as it really works well. Truth? I tried the Rustoleum brand and didn’t love it {although I do love most of their products}. It’s half the price but the dry time was seriously lagging and ain’t nobody got time for that, ya know? So after a couple of coats of white that was done a bit haphazardly since I was going for a rustic look, I did a coat of stain over the paint. That turned the white blah melamine into a faux barn wood. Don’t look too close though – you’ll see that I am a fake. But seriously, it’s a semi-easy way to give new life to things.
MELAMINE TURNED FAUX BARNWOOD

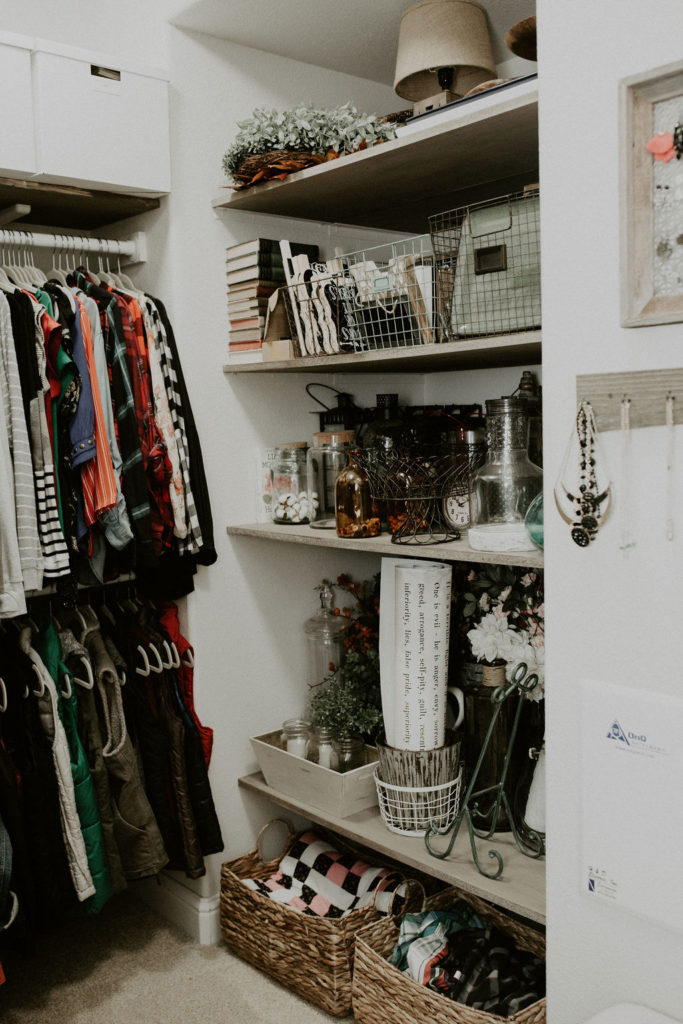
Once things had dried, it was time to start the install and movement of things. My biggest goal was moving my home decor off too the side where it wasn’t visible. Most of my clothes were moved to the end of the closet so that is the visual when you walk in. Not an overwhelming amount of home decor. I added in some fun baskets that added texture and dimension. Plus hello, storage! We doubled the width of the decor shelving and added a couple of more shelves as well. It was a deep niche that we hadn’t maximized use in.
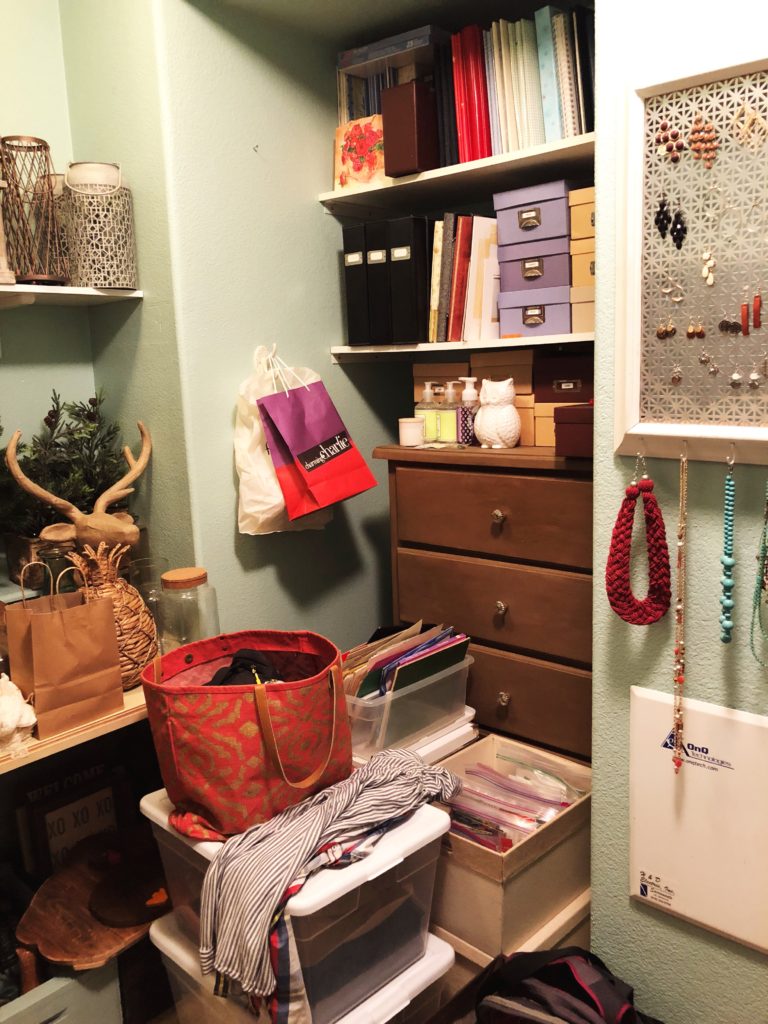
Honestly, all of the above was done in about a week but then I got caught up in the behind the scenes stuff. All of the photos and memories. OMG. SO much stuff! I have scrapbooks and boxes full of photos. I tried to separate things a bit by who they belonged to. The boys have a couple of boxes, Steve and I have a shared box and I have my own. I condensed the boys’ art from their elementary school years into a much smaller collection. As my kids get older, I think about how someday, they’ll get to keep their mementos. With that being said, I try and keep things separate for an easy handoff when they are grown-ups and care about such things as baby books and their first adorable pair of shoes. #bittersweet #holdonewhileigetemotional
I also stumbled upon all of the letters and doodles that my girlfriends and I wrote to each other in high school and yes, those girls are still a big part of my life some 25 years later. Lucky me! I sure do miss the sweet days of pen to paper. The big white boxes above my clothes are great for holding mementos. I used my label maker to keep track of what belongs to who.
QUICK CHANGES
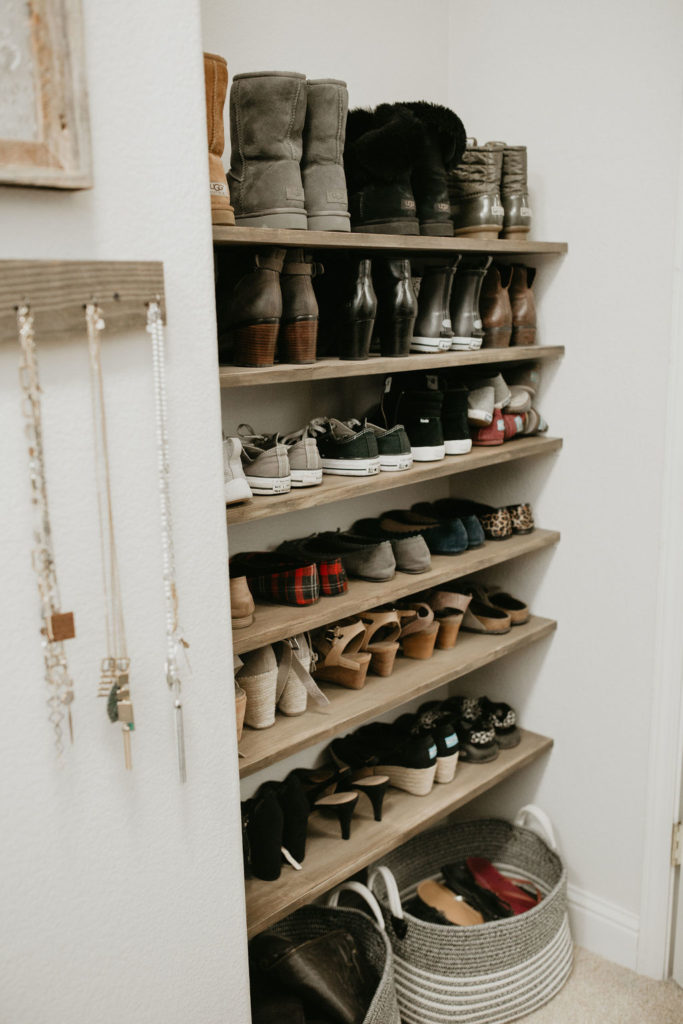
Some of the things that I added to the space to pull it together were awesome rope woven baskets {similiar here} and new hangers that matched and made me feel all kinds of grown-up {similiar here}. I also changed out the handles on the shelving and added a hanging hook for my purse. I purchased large storage boxes from IKEA to hold sentimental things. I also bought some of their large storage cubes. IKEA is so great for storage pieces. Both shelving and storage cubes, shelves, etc.
Any space can get a facelift without it breaking the bank. This makeover cost us around $300 with the cost of new shelves, paint, storage containers, and new hangers. It feels so much brighter and organized. I love that all of the home decor stuff which is very hodge-podge is off to the side and isn’t the first thing you see when you walk into the space anymore. I could have saved money by not painting the shelving, using my old hangers and not buying the new baskets but I really wanted to make this space feel cohesive.
LITTLE DETAILS
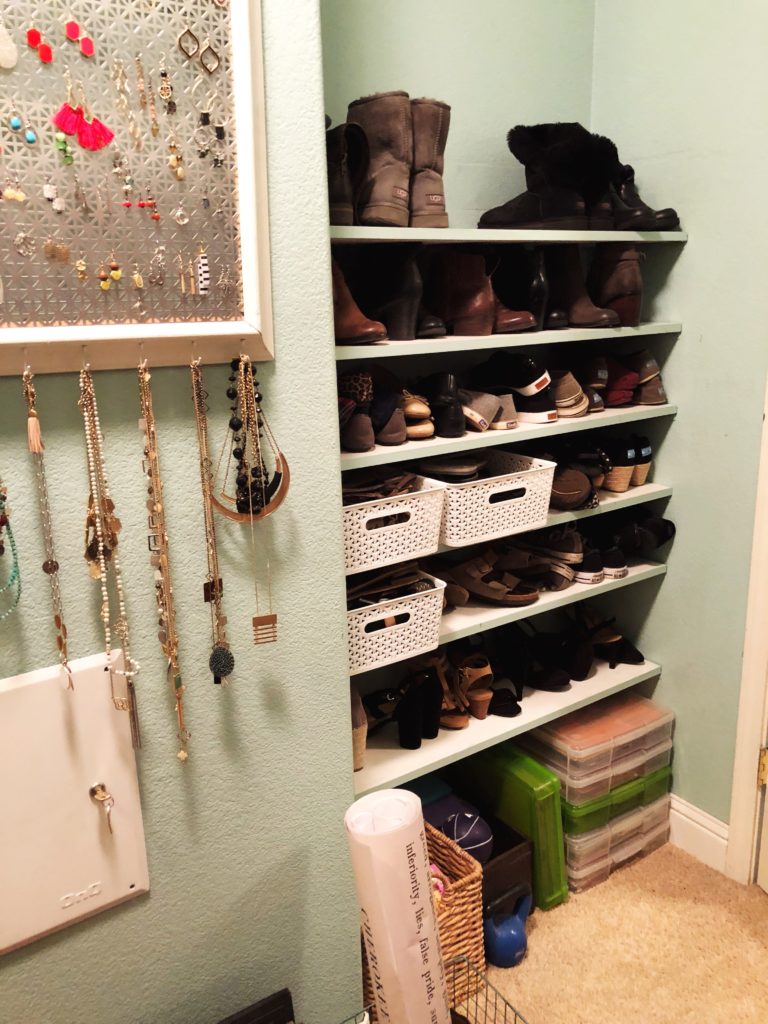
I also decided that I wanted to downsize my original jewelry frame so we make a new one using a barn wood frame that I picked up at Hobby Lobby awhile and a piece of radiator metal from the previous frame and a piece of barn wood with some added cup holders to hold all of my necklaces.
THE REVEAL – TADA!
My sweet and talented friend Morgan at Magnolia Rain Photography came over and took the after pics of my closet for me.

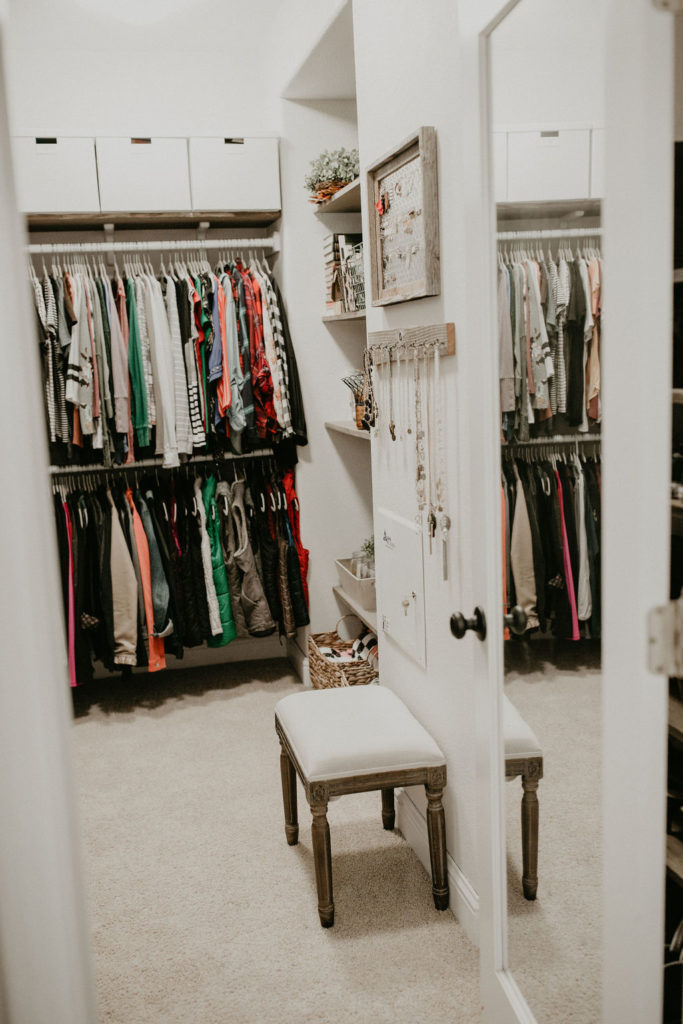
Design doesn’t have to cost a fortune. You can easily make a place feel fresh and new with paint and a few new pieces of decor. For more tips on how to breathe new life into an old space, check out this post.
My next project is already on my mind BUT it’s a big one and I am not sure that I’m ready to start it just yet. I’ve been wanting to paint my kitchen cabinets for years but I’d also really love new backsplash and granite which is not in the budget. What I would paint them with those changes is much different than what I’d do if I don’t change out the big stuff. Again, we are back to the whole budget and not having a money tree thing. Who can relate?


I love how it turned out. Also your decor section is true goals!
Ha ha! Thanks girly!!
All I can say is “wow!” It turned out absolutely amazing! Well, everything you do turns out amazing! I love the colors and I love all the fun details.
I really need to go through all my stuff that I have been hoarding, but haven’t been able to let go. I have so much scrapbook and sewing stuff! I need to face the facts and know that that time is gone and I need to move on! Thank you for giving me that push!